SMS Gateway Install Step by Step: From Unboxing to First Delivered SMS
Table of Contents
- Unboxing and Component Check
- Hardware Connection: Antenna, SIM Card, and Network in Three Steps
- Find the Management IP: Locate the Device via DHCP List
- Log In to the Control Panel: Change the Default Password and Restrict Access
- Network and SIM Registration Check: Confirm Every Card Is Ready
- Send a Test SMS and Verify the Delivery Report
- Post-Installation Maintenance: Configure SIM Rotation and Back Up
- FAQ
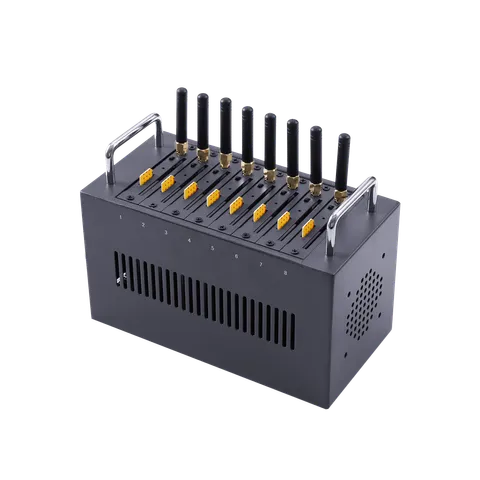
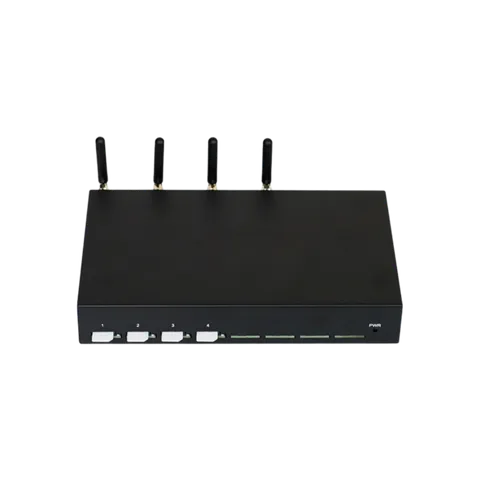
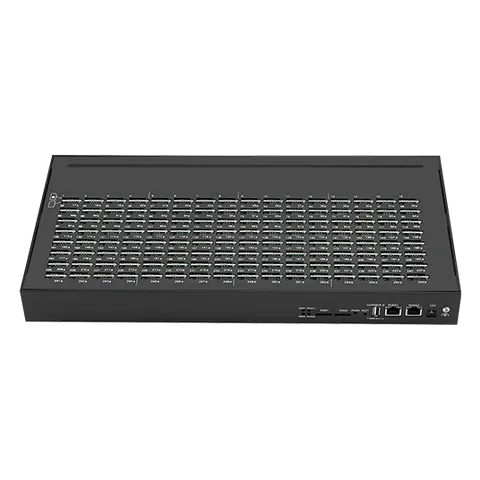
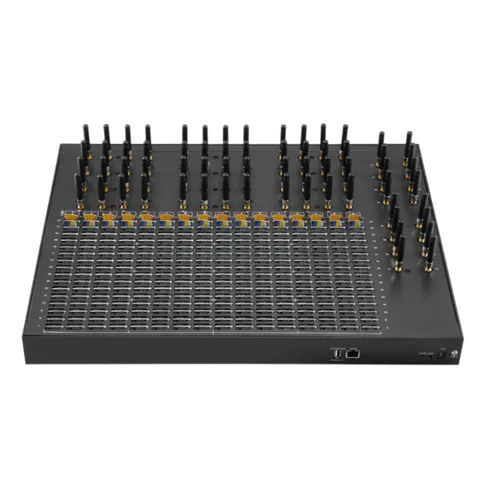
Installing an enterprise SMS gateway sounds complicated, but if you follow the SMS gateway install step by step process, it doesn’t take long to go from unboxing to the first successfully delivered SMS. The following procedure is based on our hands-on experience with the Telarvo SK-SMS Gateway 16-256 (16 ports / 256 SIM slots).
Unboxing and Component Check
Open the package and verify that the following items are present: gateway host, power adapter, power cable, Ethernet cable, USB cable, antennas (16, matching the ports), and rack mounting brackets. A missing component will affect subsequent installation, so we recommend photographing the package contents at unboxing.
The first time we installed one, we over-tightened the antennas, causing a hairline crack in the plastic of the SMA connector on the back panel. Debris fell into the connector, and that port’s signal stayed below -100 dBm. We only confirmed it was a connector problem—not an antenna problem—after swapping the antenna. Tighten the antenna until it feels seated; don’t rely on brute force to confirm “tight.”
Hardware Connection: Antenna, SIM Card, and Network in Three Steps
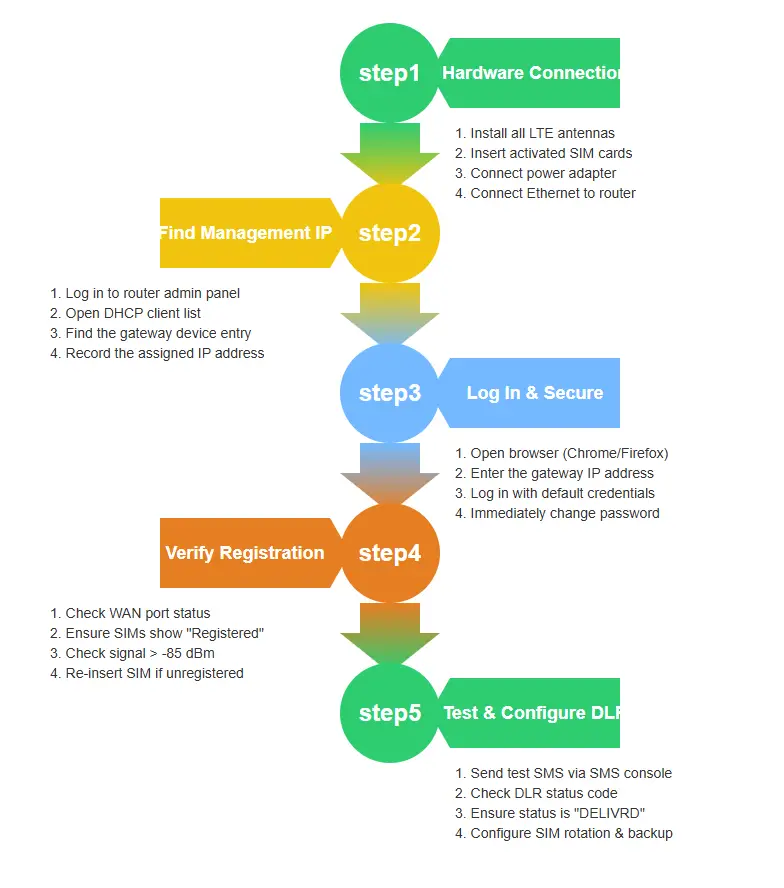
Complete the physical connections in the following order:
- Install the antennas: Screw the 16 4G/LTE antennas onto the corresponding antenna connectors on the back panel.
- Insert SIM cards: Insert activated SIM cards with SMS plans in the correct orientation until you hear a click. The SK-SMS Gateway 16-256 has 256 SIM slots; inserting 4 to 8 cards is enough for testing.
- Connect power and Ethernet: Plug in the power adapter and connect the gateway to the router with an Ethernet cable. Wait for the indicator lights to show ready.
Find the Management IP: Locate the Device via DHCP List
The gateway obtains an IP via DHCP by default. Log in to your router’s admin panel and look for the device entry in the DHCP client list. If the network doesn’t support DHCP, connect directly using the default address on the device label.
Log In to the Control Panel: Change the Default Password and Restrict Access
Enter the gateway IP in a browser and log in with the default credentials. The first thing to do after logging in is change the default password, and we recommend restricting access to the management port by source IP at the router level.
Network and SIM Registration Check: Confirm Every Card Is Ready
After entering the web management panel, check: the WAN port has obtained an IP, every port with an inserted SIM card shows “Registered,” and signal strength is within a usable range.
We found in testing that when signal drops below -95 dBm, the delivery rate for the same batch of test numbers falls from about 96% in an -80 dBm environment to around 70%. The signal value on the SK-SMS Gateway panel is not decoration—below -95, it’s time to adjust antenna placement or switch to an external antenna.
Send a Test SMS and Verify the Delivery Report
In the SMS console, select a registered SIM card and send a test SMS. Pay attention to the DLR status code, not just the word “Delivered”:
| Status | Meaning |
|---|---|
| DELIVRD | Delivered to the target handset |
| ACCEPTD | Accepted by the SMSC but delivery not yet confirmed |
| UNDELIV | Undeliverable (invalid number, powered off, etc.) |
| REJECTD | Rejected (content filtering, routing issues) |
| EXPIRED | Validity period expired, message not delivered |
If the status stays at ACCEPTD for a long time or shows UNDELIV/REJECTD, check the SMSC number and SIM balance first, then check whether the content is triggering carrier filtering.
Post-Installation Maintenance: Configure SIM Rotation and Back Up
After the first SMS succeeds, configure SIM rotation rules in the panel to distribute the sending source across a compliant number pool, reducing the probability of a single number hitting the carrier threshold. Also export and back up the configuration file.
FAQ
Q: Do all antennas need to be installed? We recommend installing all of them. We once tested with only two antennas attached, and those ports’ signal stayed below -100 dBm with repeated registration failures. Fill them in before going live.
Q: The test SMS shows ACCEPTD for a long time—is the device broken? ACCEPTD means the SMSC accepted the message but delivery isn’t confirmed. It’s not necessarily a hardware fault. Check the SMSC number and SIM balance first.
Q: Must SIM rotation be configured immediately after installation? We recommend it. In one case, we sent only three test SMS after installation and called it done. The next day, as volume picked up, a single card hit the threshold and we had to go back and configure rotation.
Q: Where can I see signal strength on the SK-SMS Gateway 16-256 management panel? Usually on the port status page or in the SIM management module, where the current signal strength (dBm) is displayed next to each registered SIM card.
Sources:
Disclaimer: The data in this article comes from actual deployment records of the Telarvo SK-SMS series. For SMSC numbers and 10DLC-related rules, please refer to the latest announcements from the carrier in the target country. Multi-SIM routing capabilities are limited to compliant, registered traffic and must not be used to circumvent carrier risk controls.
Blog
Learn more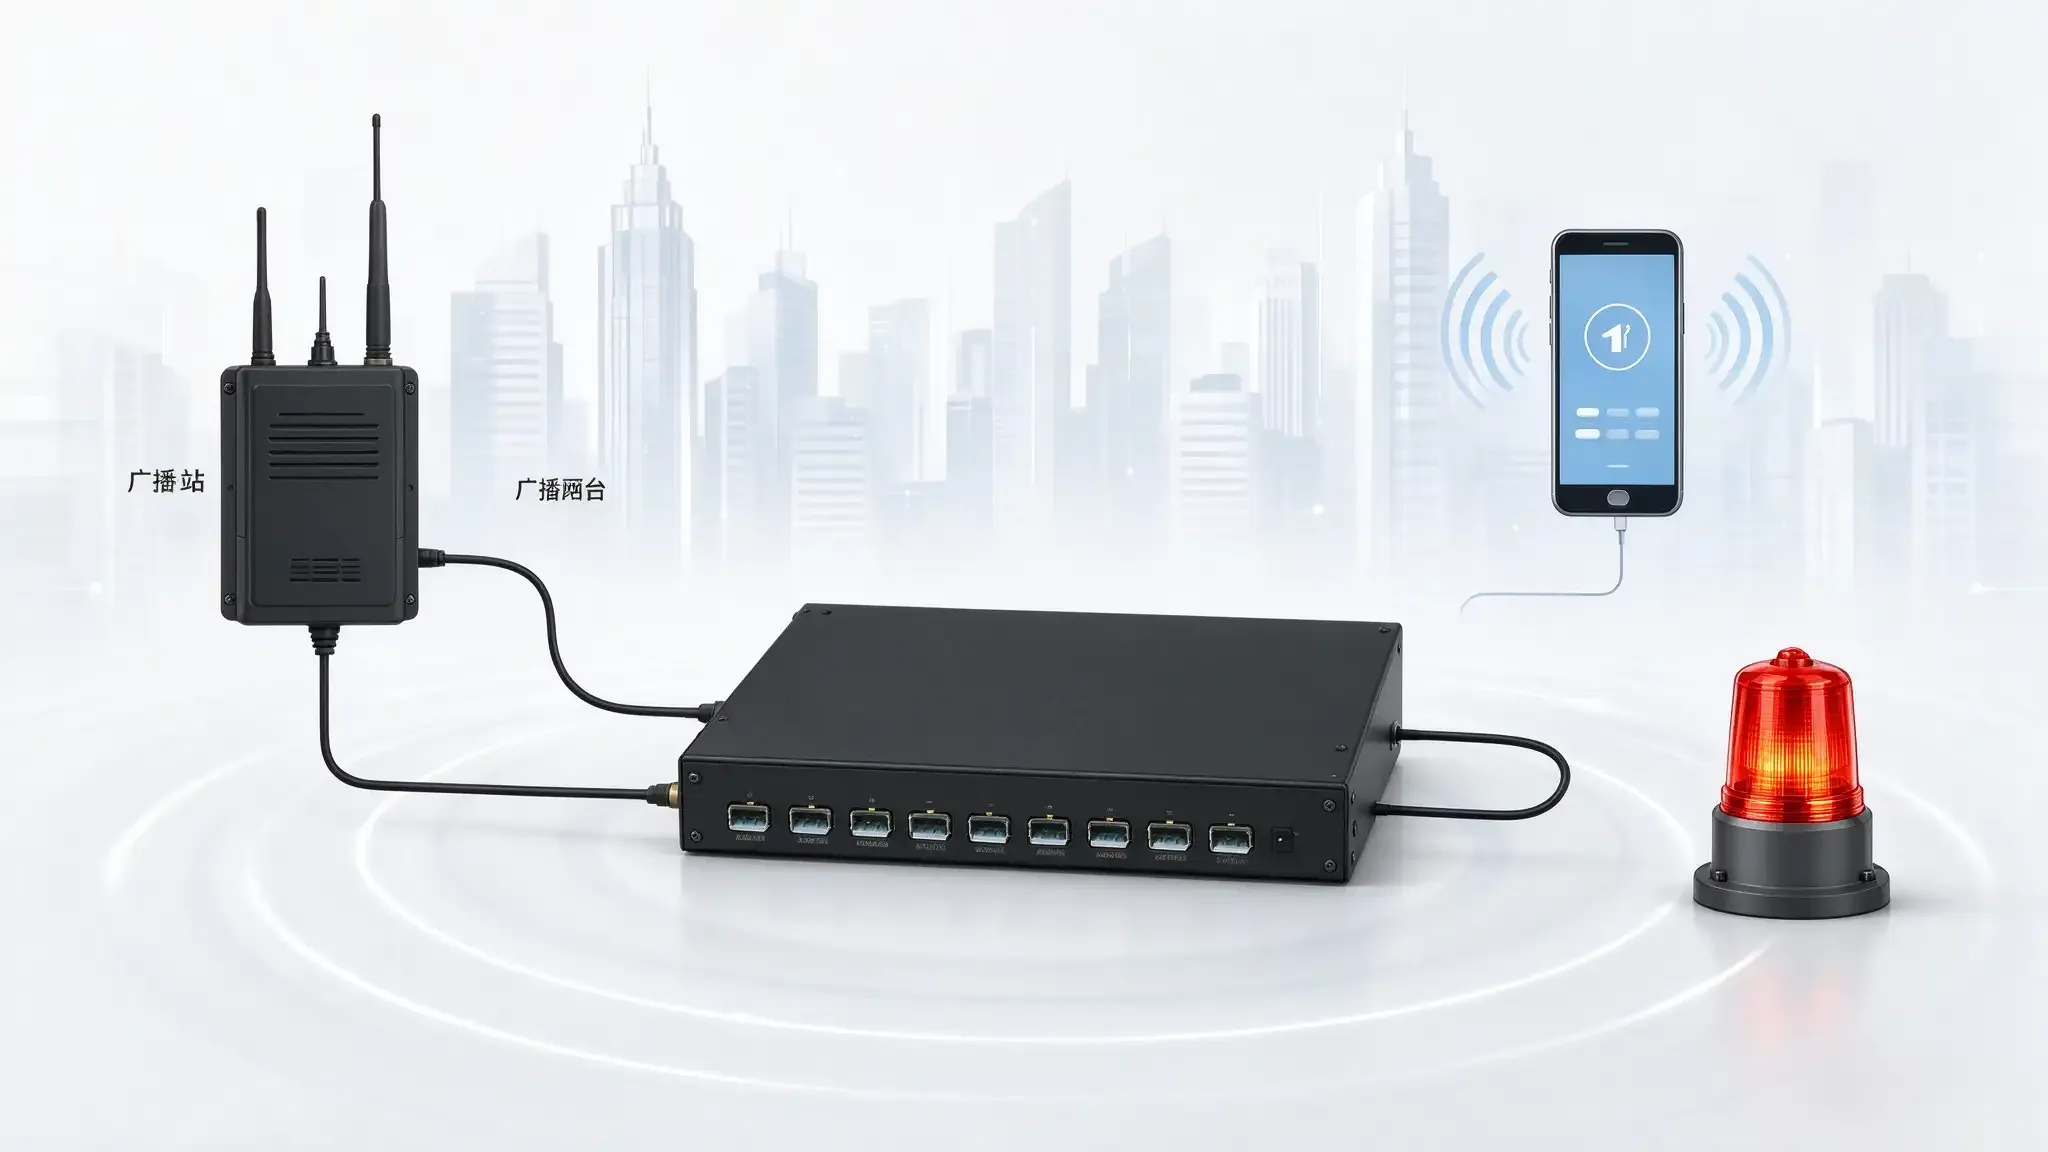
Enterprise VoIP Gateway Security Hardening: Toll Fraud Prevention Strategies Through the VOIP Gateway
A VoIP gateway for regulated industry needs defense in depth: IP ACLs, strong SIP auth, voice VLAN isolation, and ASR/ACD anomaly alerts to stop toll fraud.
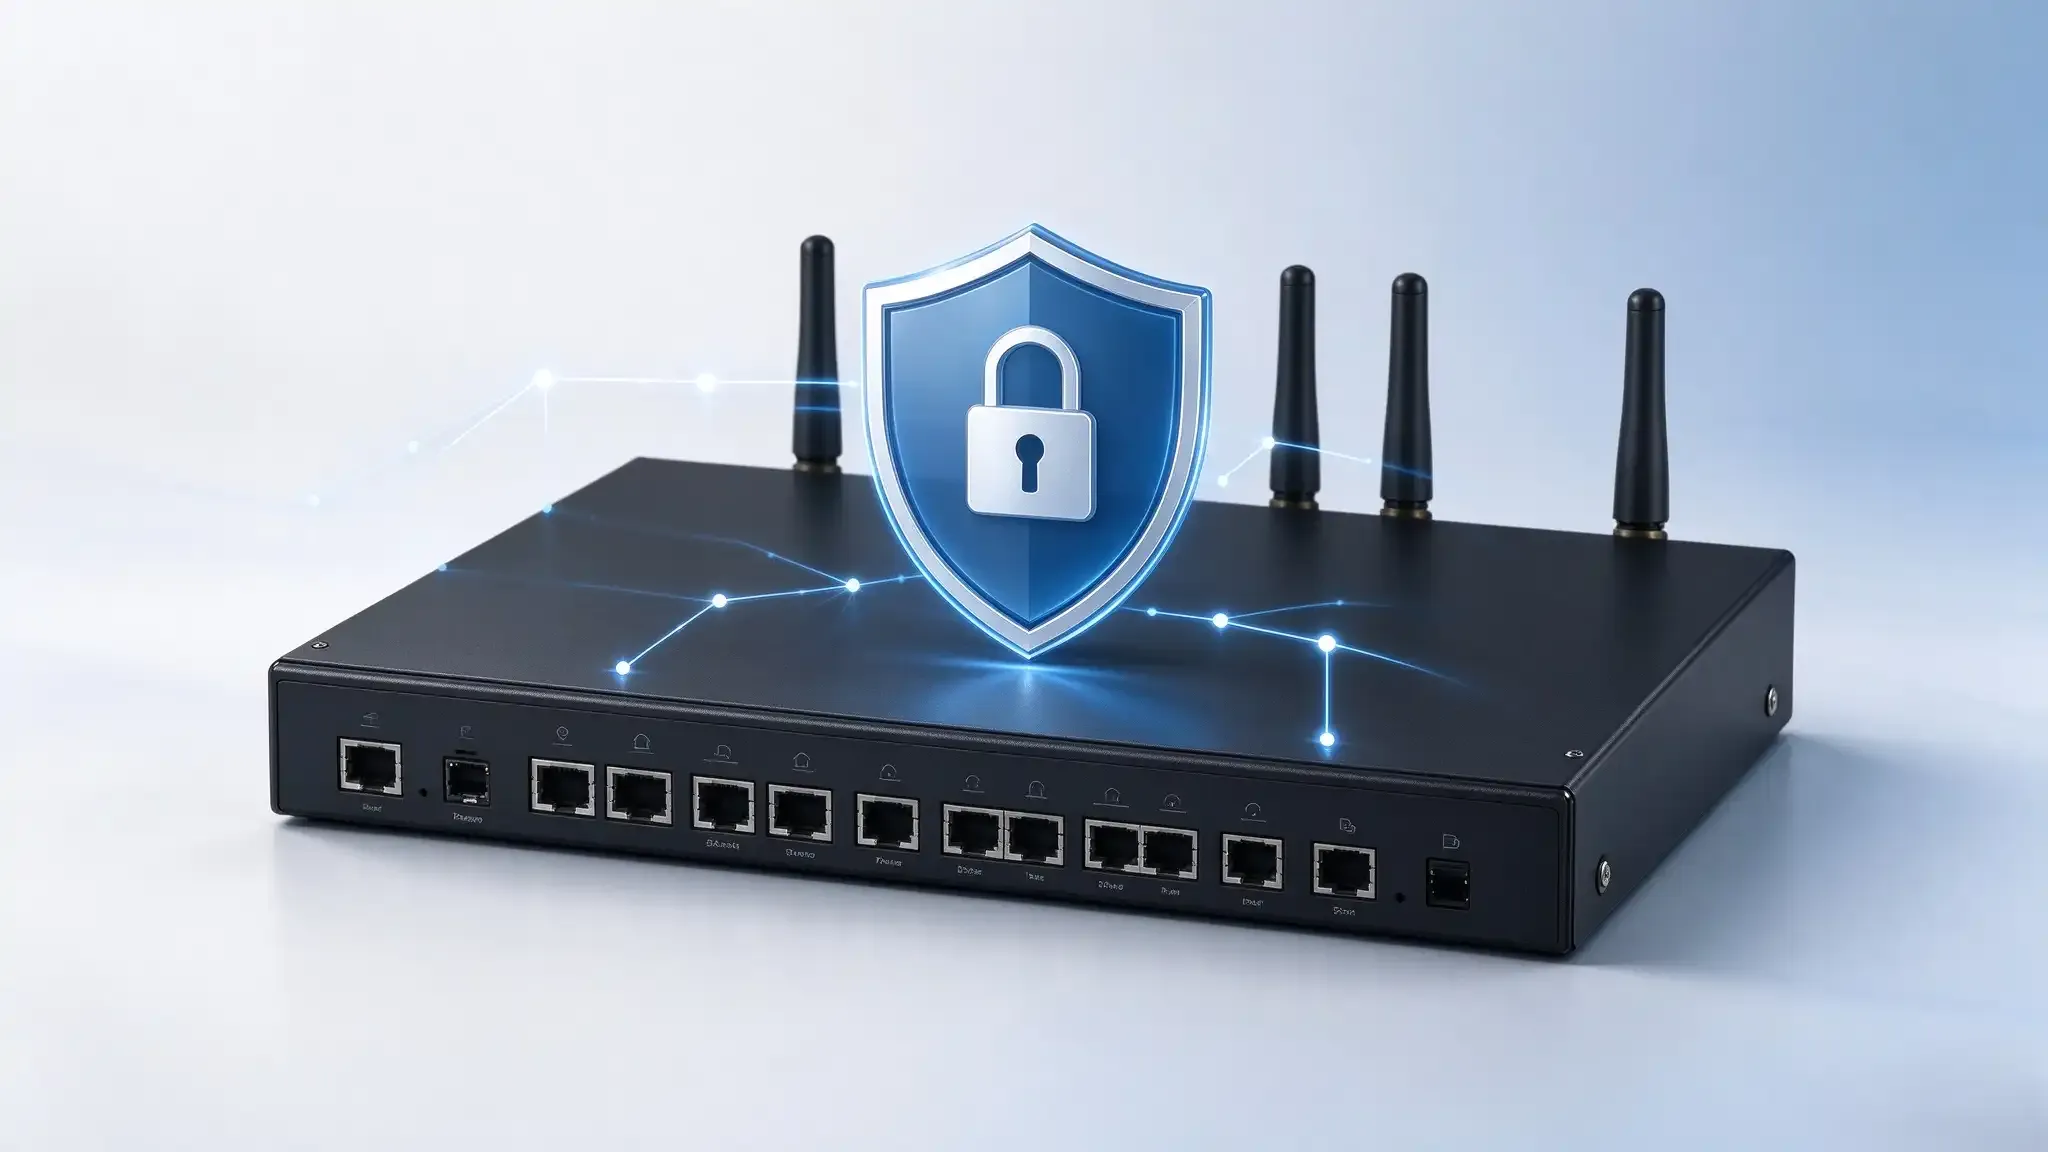
VoIP Gateway Deployment Checklist: 15 Compliance and Security Checks
Before deploying a VoIP gateway, run these 15 checks: power and cooling, VLAN isolation, SIP IP whitelisting, SIM real-name compliance, and security hardening.
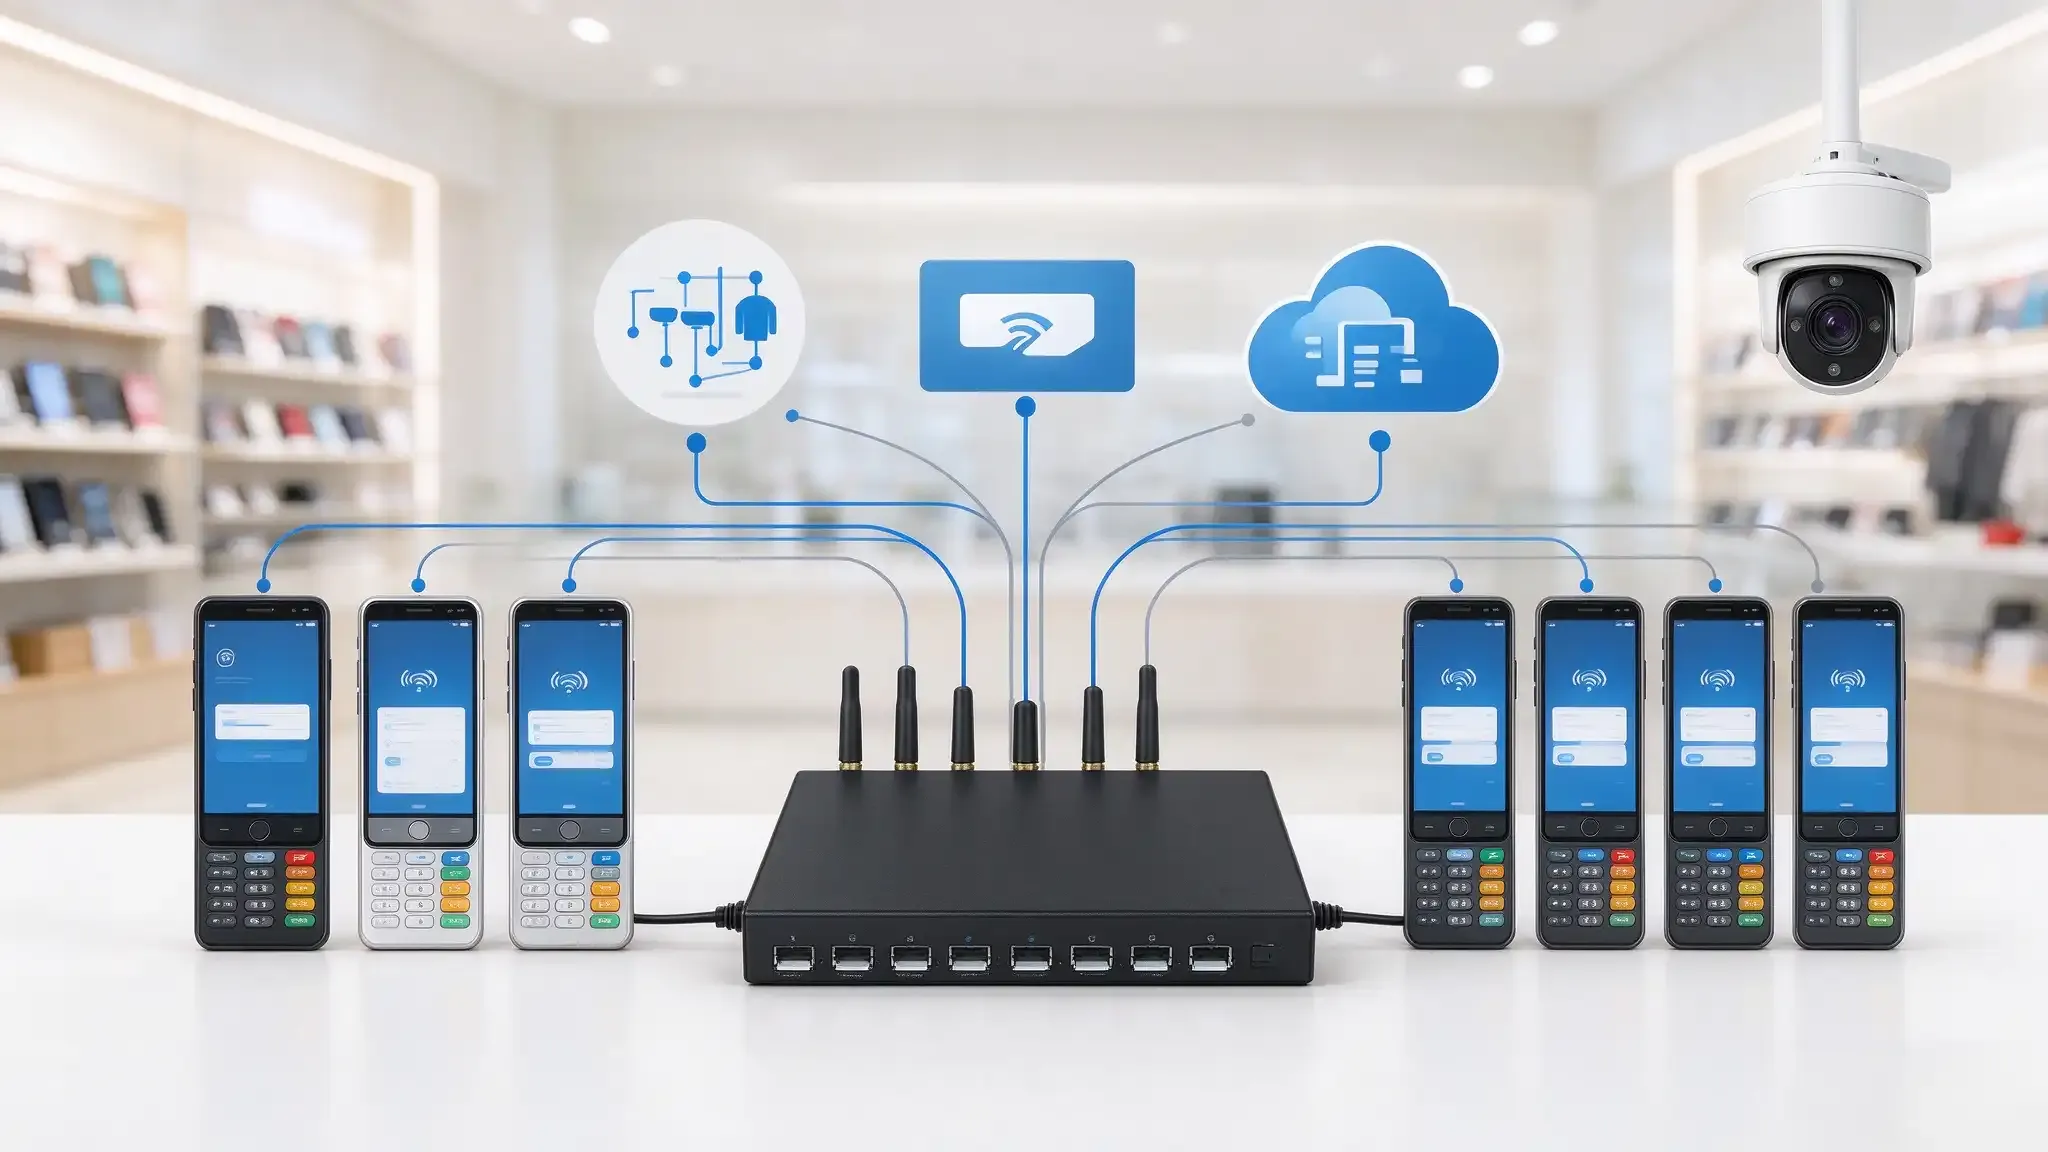
How SMS Gateways Multi-SIM Management Cuts Carrier Throttling Risk
A practical guide to SMS gateways multi-SIM management: rotation rules, round-robin balancing, failover, and remote SIM pools—without triggering carrier caps.